


Usage guidelines
Tear-Aid delivers on promises, if the usage guidelines are being followed
First check the Product Repair List to see if you need type A or type B. Before proceeding make sure surface is completely dry. Keep Tear-Aid out of children’s reach.
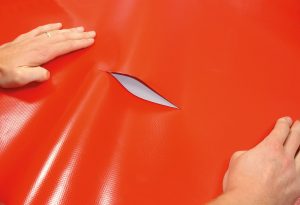
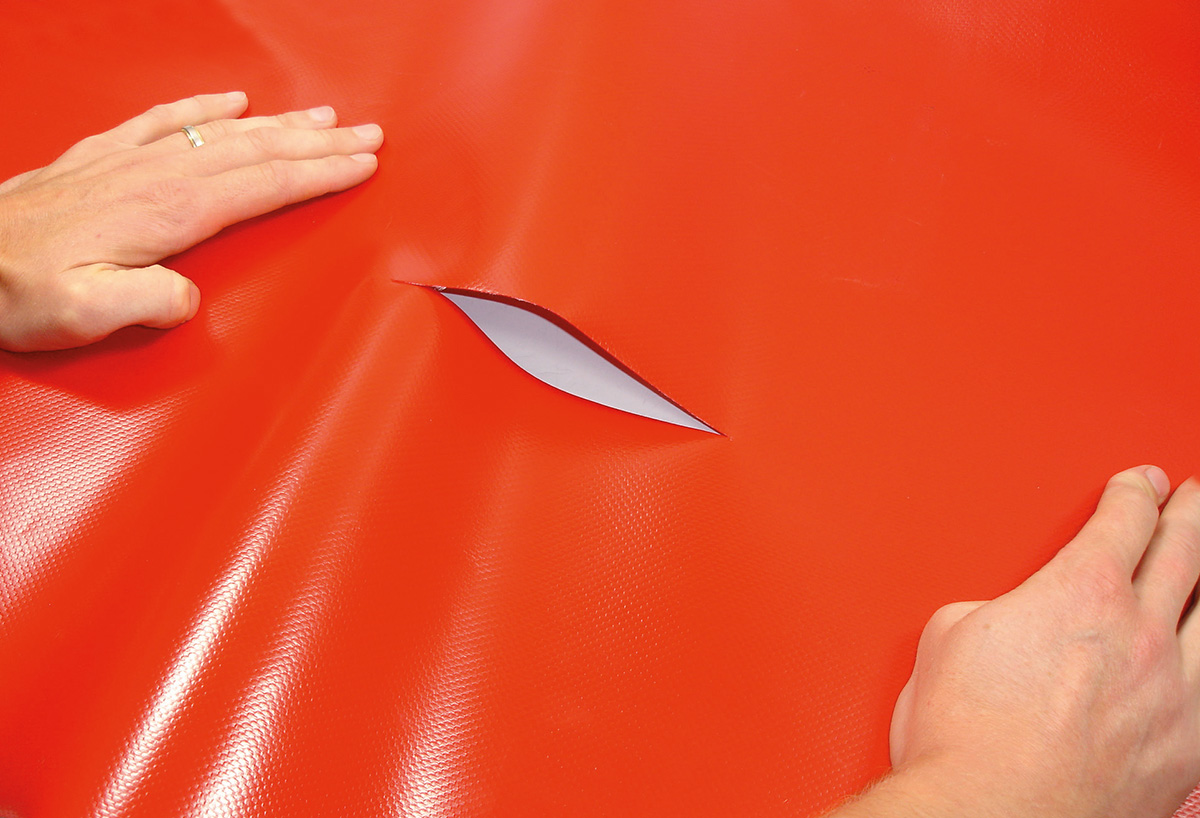
Tears and holes in the centre of the material:
- Use the alcohol patch to clean the surrounding material. Before proceeding make sure surface is completely dry.
- Trim the Tear-Aid patch to the preferred size. For optimal attachement the patch needs at least 2,5 cm of coverage on both sides of the tear.
- Preferably use rounded edges.
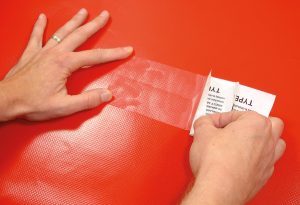
- Gently tear off about 1 cm. of the protecting paper on the back of the patch. Stretch the patch a little to tear the paper.
- Position the damaged material.
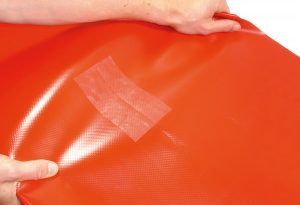
- Apply the exposed adhesive side of the patch. Remove the rest of the protecting paper while in the mean time applying the rest of the patch to cover the tear.
- Press the patch firmly.
Tears and holes on the edge of the material:
- Use the alcohol patch to clean the surrounding material. Before proceeding make sure surface is completely dry.
- Trim the Tear-Aid patch to the preferred size. For optimal attachement the patch needs at least 2,5 cm of coverage on both sides of the tear.
- Apply the patch on the outside of the material and turn the material around.
- Place the nylon string across the tear, it will provide reinforcement.
- Fold the remaining part of the patch over the edge.
- Apply a secondary patch on the other side of the material.
- Press firmly and cut any the remaining pieces of nylon string.
Tear-Aid
-
can be used with temperatures ranging from -28 to +60 degrees Celsius
-
makes liquid glue or stitching a thing of the past
-
stretches and reshapes
-
can easily whitstand tension without ripping or losing adhesive strenght
-
prevents rips and tears from getting larger
-
easily cuts to a preferred size or shape

Keep out of children’s reach.


